
How to install and set up Handyman Booking OS
This chapter takes you from an uploaded package to a business that can take its first job. Check your hosting against the System requirements first, and create an empty database with its own user.
Video tutorials #
The installer #
Open https://your-domain.example/install. Until the site is installed, every page leads there. The installer has seven steps: ownership, server requirements, database, site setup, owner account, installation and completion.
- Ownership — "Prove that you control this hosting account". The installer has written a one-time setup token into a file on your server; the page names the file (
storage/install/setup-token.txt) and its full path, and never shows the token. Open that file with your hosting file manager, FTP/SFTP or SSH, copy its content into Setup token and press Unlock the installer. Attempts are limited to 5 per 15 minutes. - Server requirements. The page lists each check with its result. A failed check names what is missing; a warning lets you continue at your own risk.
- Database. Enter Host, Port, Database name, User name and Password, then Test connection. The database must be empty: the installer never overwrites or deletes an existing installation. The test only reads; nothing is written before the installation phases start.
- Site setup. Site name (shown to visitors, for example in page titles and e-mails), Canonical site address, Time zone and Currency (ISO 4217). This version installs without demo data: the site starts with only the records it needs and your owner account.
- Owner account. Owner name, Owner e-mail (sign-in name) and Password. This is the real owner account: there is no default password, the password is not e-mailed, and it is stored only as a secure hash. Choose a long phrase you do not use elsewhere.
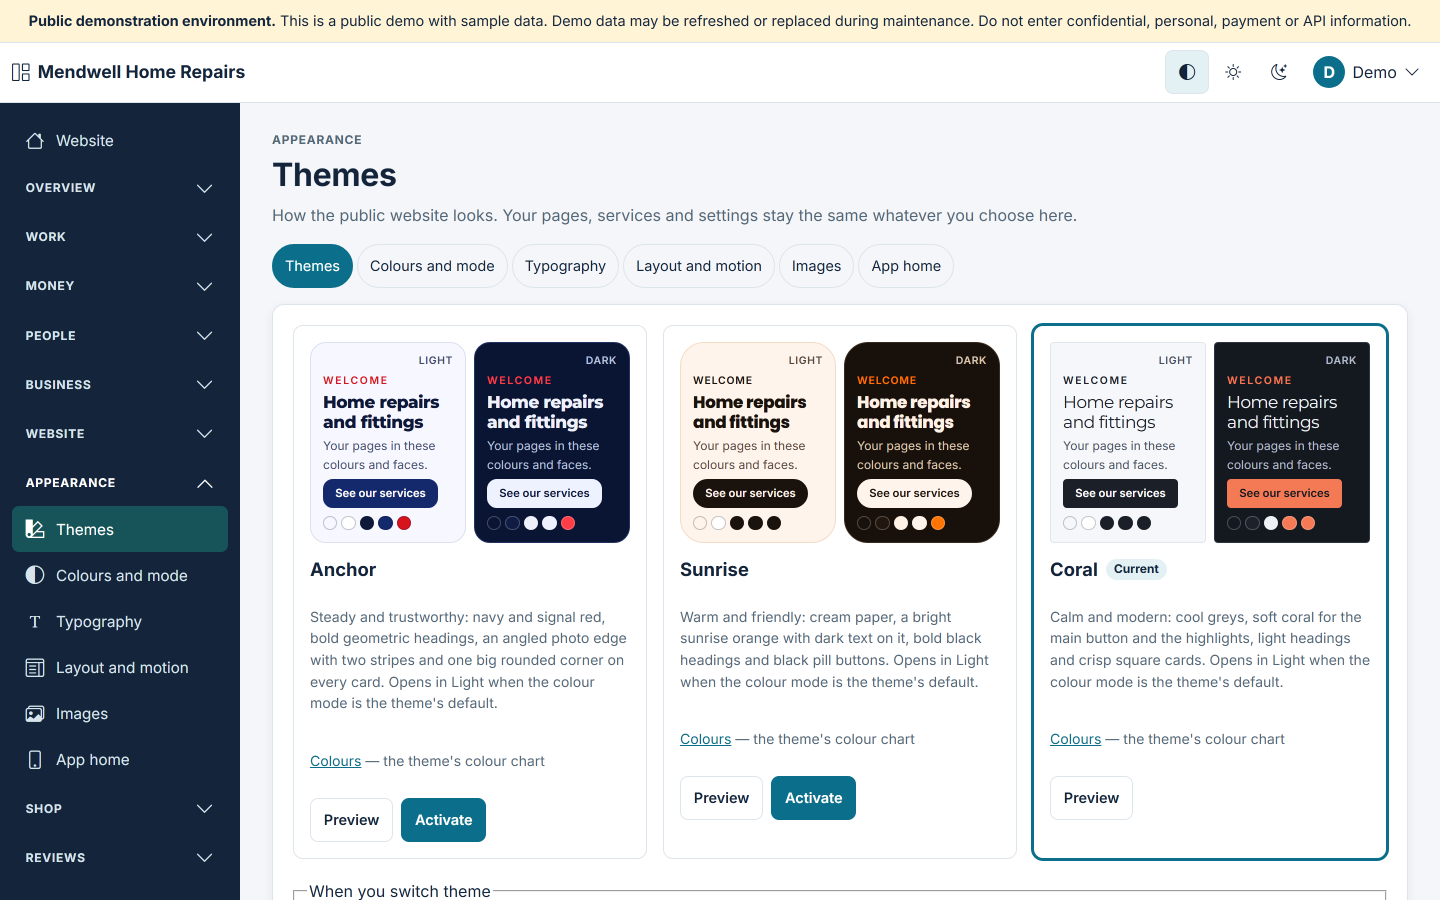
- Installation. The installation runs as an ordered list of phases; each phase is recorded only after it succeeds, so an interrupted installation can be resumed with the same setup token. Some phases ask for a choice: the website's theme (Anchor, Sunrise or Coral; Anchor is preselected — you can change it later under Appearance). In this edition one phase is Software license activation: enter the license key from your purchase (see Software license). Until the installation is finished you can Start over, for example to use another database.
- Completion — "Installation successful". Keep this page's information:
- the Installation identifier — the app's build profile needs it (see the app build guide in the Flutter source package); afterwards System → About this software shows it as Installation ID, and it is kept in
config/installed.php(installation_id) on your server; - the scheduled task line and the backup list, which also stay in the administration under System → Before you go live.
- the Installation identifier — the app's build profile needs it (see the app build guide in the Flutter source package); afterwards System → About this software shows it as Installation ID, and it is kept in
After the last step the installer locks itself: /install then answers "Already installed".
Sign in as the owner #
Open https://your-domain.example/login and sign in with the owner e-mail and password. The administration area is at /admin; its menu has eleven groups, and Overview lists them all. Do not share the owner's password: give each person their own account (below).
Before you go live #
System → Before you go live is the list of what to set up on the server before people use the site. Nothing on that page changes the site. Work through it first:
- Background tasks. Schedule the one command the page shows — copy its Schedule and Command fields into your hosting scheduler (cron), every minute (every 5 or 15 minutes where your host allows no more). Where your host needs the PHP program's full path (for example
/opt/alt/php83/usr/bin/phpor/usr/local/bin/ea-php83), put it in place ofphpat the start of the command. It runs every background task of the site when it is due: reminders, message retries, the review requests, the media clean-up and the others. - Backups. Back up the database together with
config/app_local.php,config/installed.php,storage/andwebroot/media/: the configuration file holds this installation's secrets and cannot be regenerated (see Updates and backups). - E-mail delivery. The site cannot send e-mail until outgoing e-mail is set up under System → E-mail (SMTP); sign-up verification, password resets, sign-in codes and every notice depend on it.
- Two default service categories — "Taps, toilets and small leaks" and "Light fittings and fixtures (like-for-like)" — cover work that local rules may restrict. Check what the rules where you work allow; rename them, or offer no service in them, if needed.
- Your public contact e-mail under Website → Business profile: new estimate requests and customers' answers to your estimates are sent there. Until it is set, those notices are not sent.
- The website's three policy drafts — terms of service, the cancellation and refund policy and the privacy policy — are written from the booking rules set on this site. Review them (the wording is your business's responsibility), then publish them under Website → Legal pages.
Set up the business, in this order #
| Step | Where | What |
|---|---|---|
| 1 | System → E-mail (SMTP) | Outgoing e-mail (Integrations) |
| 2 | Business → Business location | The business's Name, Time zone, phone and address — booking times on your website and in your e-mails are shown in your business's time zone |
| 3 | Business → Business hours, Closures and holidays | When jobs can be booked; whole days on which nobody can be booked |
| 4 | Business → Jobs at the customer's address | Offer jobs at the customer's address (on from installation), Also take jobs at your own place (switch it off when you have no premises), the Travel fee per visit, Travel time before and after, and the Areas you serve (postcodes or towns) |
| 5 | Business → Services | Add service: its time (in 5-minute steps), price, category and who can do it. A service is offered online when it is bookable online and someone bookable online can do it; the categories are renamed, hidden or deleted (once no service uses them) in the Category list |
| 6 | People → Workers | Add worker, then each worker's Schedule (their own working hours) |
| 7 | People → People → Add a staff member | An account for each worker, with the Worker role: they get a one-time link to choose their password (e-mailed when you give an e-mail address) |
| 8 | People → Workers' sign-in | Link each worker to the account they sign in with: they then see their own jobs and hours in the app and are told when a job is given to them |
| 9 | Money → Taxes | Your tax rates, if you charge tax (none are preset); System → Payment options says whether your prices include tax |
| 10 | System → Payment options and a payment provider | Paying at the job, deposits, online payment (Integrations) |
| 11 | Website and Appearance | The business profile, the brand, the homepage, the legal pages; the theme and colours (Appearance) |
| 12 | Work → Online booking | Whether the site takes bookings online — on your website and in the app (while it is off, the app leaves out Book a job) |
Business → Hours, workers and services shows What online booking needs as a checklist — business hours, a worker bookable online with working hours, a service bookable online and, for jobs at an address, an area, a service and a worker who does them — each with its link.
Website settings #
System → Website settings lists the site's own settings with their values. A setting with its own page opens there (Open); the others change with Edit; values written by the installer or the application are read only. Among them:
- Booking: the minimum notice for online bookings (120 minutes), how many days ahead customers can book online (60), free cancellation and online rescheduling until this many hours before the start (24) and the online reschedules allowed per job (2) — the deadline inside which customers reschedule or cancel a booking themselves;
- One-time codes: how long a code stays valid and how many a contact may ask for;
- Jobs: the proof pictures needed before a job is completed (1; 0 for none) and whether the customer's completion code is needed (off);
- Invoices: the number's prefix (
INV-), the year in the number, the next invoice number (it can only go up), the days to pay, the footer text, the business's tax number and how to pay when online payment is not available; - Reviews: whether every customer is asked for a review after a completed job or a delivered order, and the days before a review publishes itself (7);
- Accounts: the days within which a requested deletion is done (14; 1 to 30);
- Show “Powered by OsDot™” in footer: switches it off on your public website; it stays in the administration's footer in every edition.
Roles #
People → Roles and permissions shows what each role may do: Owner has full access; Worker and Customer have a few permissions of their own. Give a role a permission to let its people do that. The administration area stays the owner's: workers use the app, and customers your website and the app.